Relied On Drywall Contractors in Hamilton and Surrounding Locations
Wiki Article
Inexpensive Drywall Repair Solutions: Bid Farewell to Cracks and Holes in Your Walls
Do not worry, economical drywall repair work solutions are right here to save the day. From analyzing the damage to applying finishing touches, we will assist you with each step of the fixing process.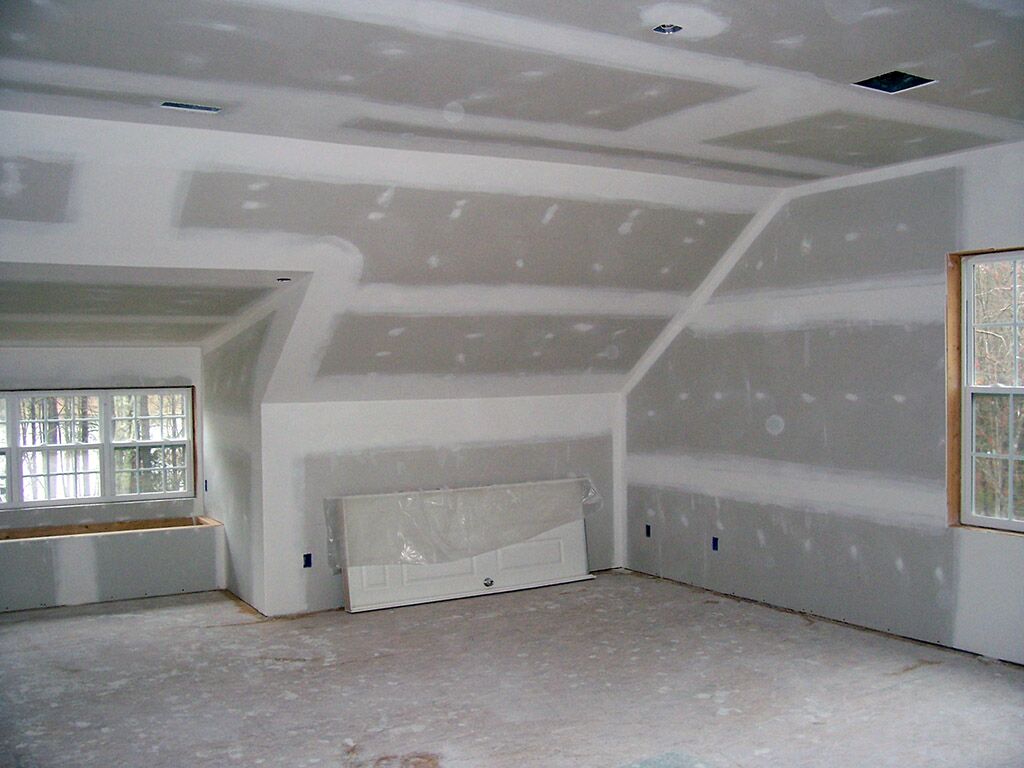
Evaluating the Damages
When confronted with the job of examining drywall damages, it is vital to carry out a methodical and thorough assessment in order to accurately determine the extent and nature of the repair work called for. This analysis process is essential as it lays the structure for creating a reliable and effective repair work strategy.To begin with, one need to very carefully examine the broken location to identify any kind of visible indicators of splits, holes, or water damages. It is essential to evaluate the dimension, shape, and deepness of the damage, in addition to its area on the drywall surface (drywall installation). This first exam aids in recognizing the seriousness of the trouble and aids in identifying the appropriate repair methods and materials needed
Furthermore, it is vital to look for any kind of underlying issues that may have created the damages, such as plumbing leakages or structural issues. These underlying issues need to be addressed and settled to avoid future damage and ensure the longevity of the repair work.
Additionally, it is a good idea to touch the broken area gently to recognize any kind of loosened or hollow spots. This touching technique aids in determining possible locations that might need more focus during the repair process.
Collecting the Essential Devices
To efficiently finish the drywall fixing procedure, it is important to gather the required tools. Having the right devices handy will certainly allow you to efficiently and efficiently fixing splits and holes in your wall surfaces. Here are some important tools you will certainly need:- Putty blade: This device is utilized for scuffing off old paint and smoothing the surface of the fixed location. It is available in various dimensions, so pick one that matches the dimension of the repair work.

- Sandpaper: After using the patching compound, sandpaper is utilized to smooth the surface area and blend it seamlessly with the remainder of the wall surface. Select a medium-grit sandpaper for best outcomes.
3. Joint substance: Also referred to as spackle or mud, joint compound is used to fill up cracks and openings. It is available in powder kind or pre-mixed. Go with pre-mixed compound for comfort.
- Patching tape: This self-adhesive mesh tape is used to reinforce the joint substance and avoid splits from re-emerging.
- Paintbrush and paint: Once the repair is full, a paintbrush and paint will certainly be required to match the shade and appearance of the existing wall surface.
Patching Tiny Openings and Splits
Are you confronted with the job of covering tiny holes and cracks in your drywall? Don't worry, with the right tools and methods, you can quickly repair these blemishes and restore the smooth appearance of your walls.To start, gather the needed materials for the job, consisting of a putty knife, sandpaper, spackling substance, and guide. Start by cleaning up the area around the hole or split to get rid of any type of loosened drywall contractors particles or dirt. Use the putty knife to apply a slim layer of spackling compound over the damaged location. Make certain to load the opening or fracture totally, smoothing it out with the putty knife.
As soon as the compound is dry, lightly sand the patched area to produce a smooth surface. Be careful not to sand way too much, as this can damage the surrounding drywall. After sanding, wipe away any type of dirt with a tidy cloth.
To end up, apply a layer of guide over the patched location to guarantee a smooth mix with the surrounding wall. When the primer is dry, you can repaint the fixed area to match the remainder of your wall surface.
Fixing Larger Damaged Areas
For fixing larger damaged locations on your drywall, you will certainly require to follow a slightly different procedure than when patching small holes and fractures. If the damage is small, you can proceed with the repair procedure. Keep in mind, repairing larger damaged locations may need even more time and initiative, yet it is achievable with the right devices and methods.Finishing and Painting Strategies
After efficiently repairing bigger damaged locations on your drywall, the next action is to understand the completing and repainting techniques to accomplish a professional-looking and smooth result. Completing refers to the procedure of preparing the repaired area for painting. It entails applying joint substance to cover the repaired area and blending it with the surrounding wall surface.Decide for a premium acrylic latex paint that matches the existing color of your wall surfaces. Before painting the repaired location, it is suggested to prime it with a high quality guide. Make use of a brush or roller to apply the paint, starting from the sides and functioning your means towards the.
Conclusion
Finally, by following the steps outlined in this article, you can successfully fix cracks and openings in your wall surfaces without breaking the bank. Assessing the damages, collecting the needed devices, and making use of the ideal techniques, such as patching and repairing, will aid restore your walls to their original problem. Additionally, ending up and painting techniques can give a seamless coating. With these budget friendly drywall repair services, you can state goodbye to unsightly splits and openings in your walls.Putty knife: This tool is made use of for scratching off old paint and smoothing the surface of the repaired area.For fixing larger damaged areas on your drywall, you will need to follow a somewhat different process than when patching little openings and splits. Keep in mind, repairing larger damaged locations may call for more time and effort, but it is attainable with the right tools and strategies.
After successfully repairing larger harmed areas on your drywall, the following step is to understand the finishing and painting techniques to accomplish a professional-looking and seamless result (drywall installation). It includes applying joint substance to cover the repaired location and blending it with the surrounding wall surface
Report this wiki page